 Gadgetorium
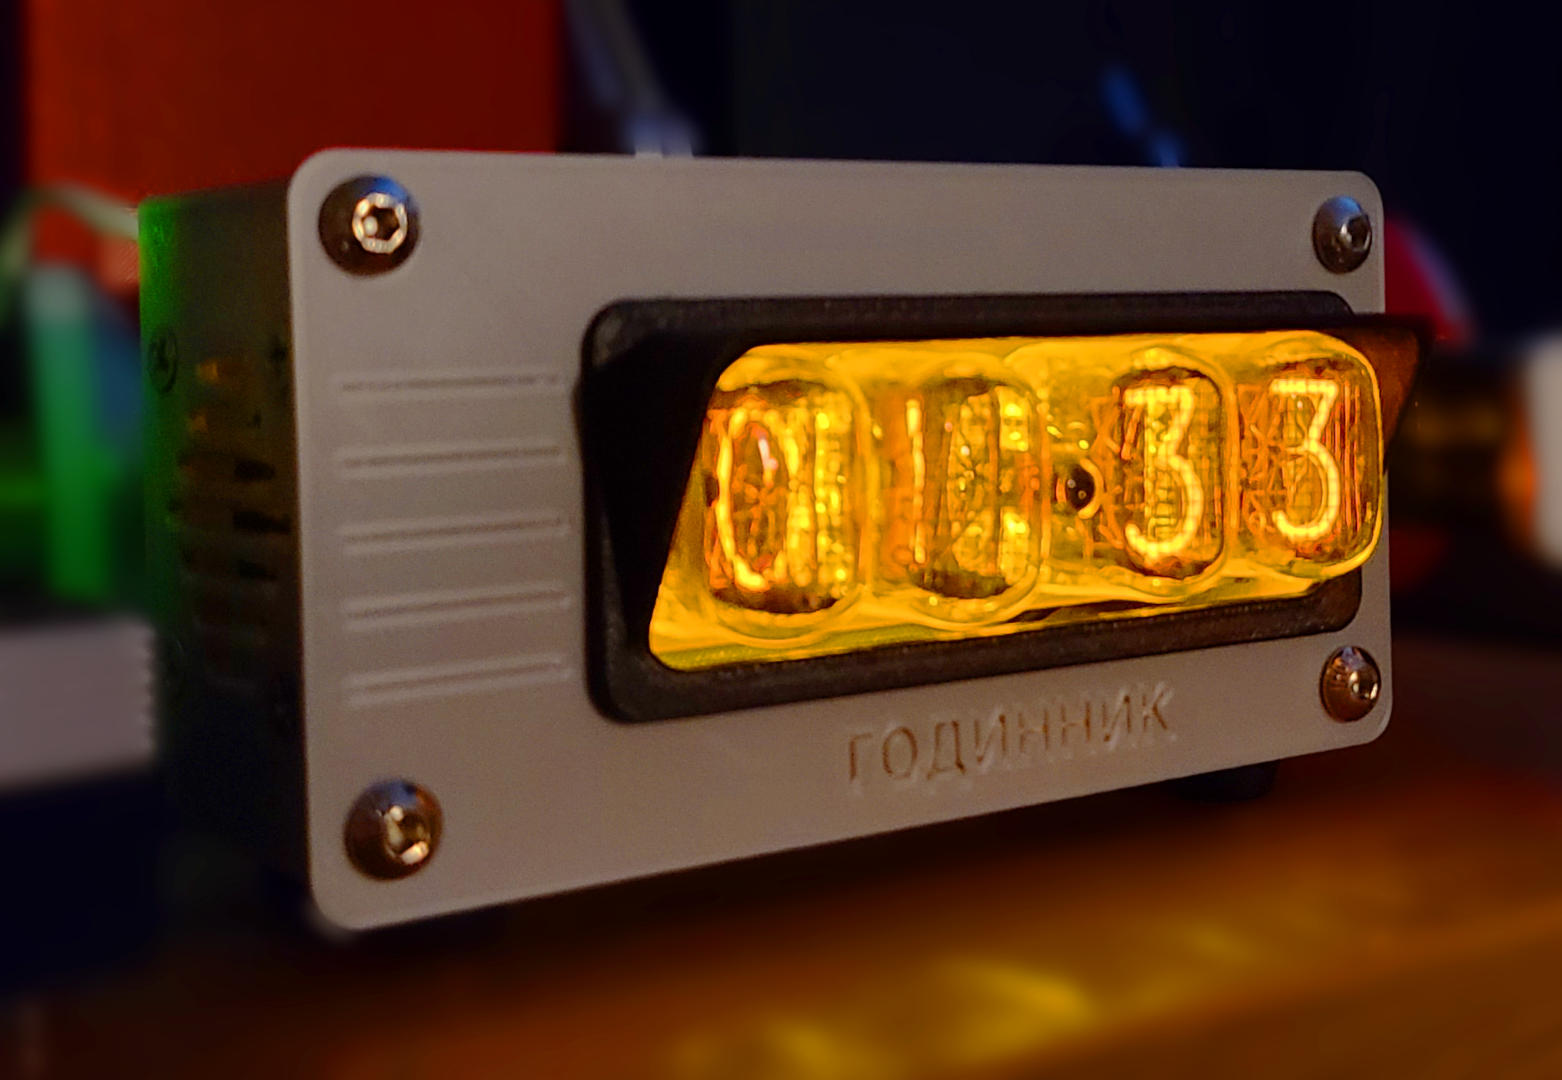
 Nixie Clock
Created: 2026-06-07
The guts for this were donated by my brother. The boards came pre-assembled, with tubes, from a Ukrainian eBay seller. My brother bought it several years ago with the intention of making a case for it, but after some issues with one of the chips, it sat for a while. He finally decided it would be in better hands with me.
 Internals and back
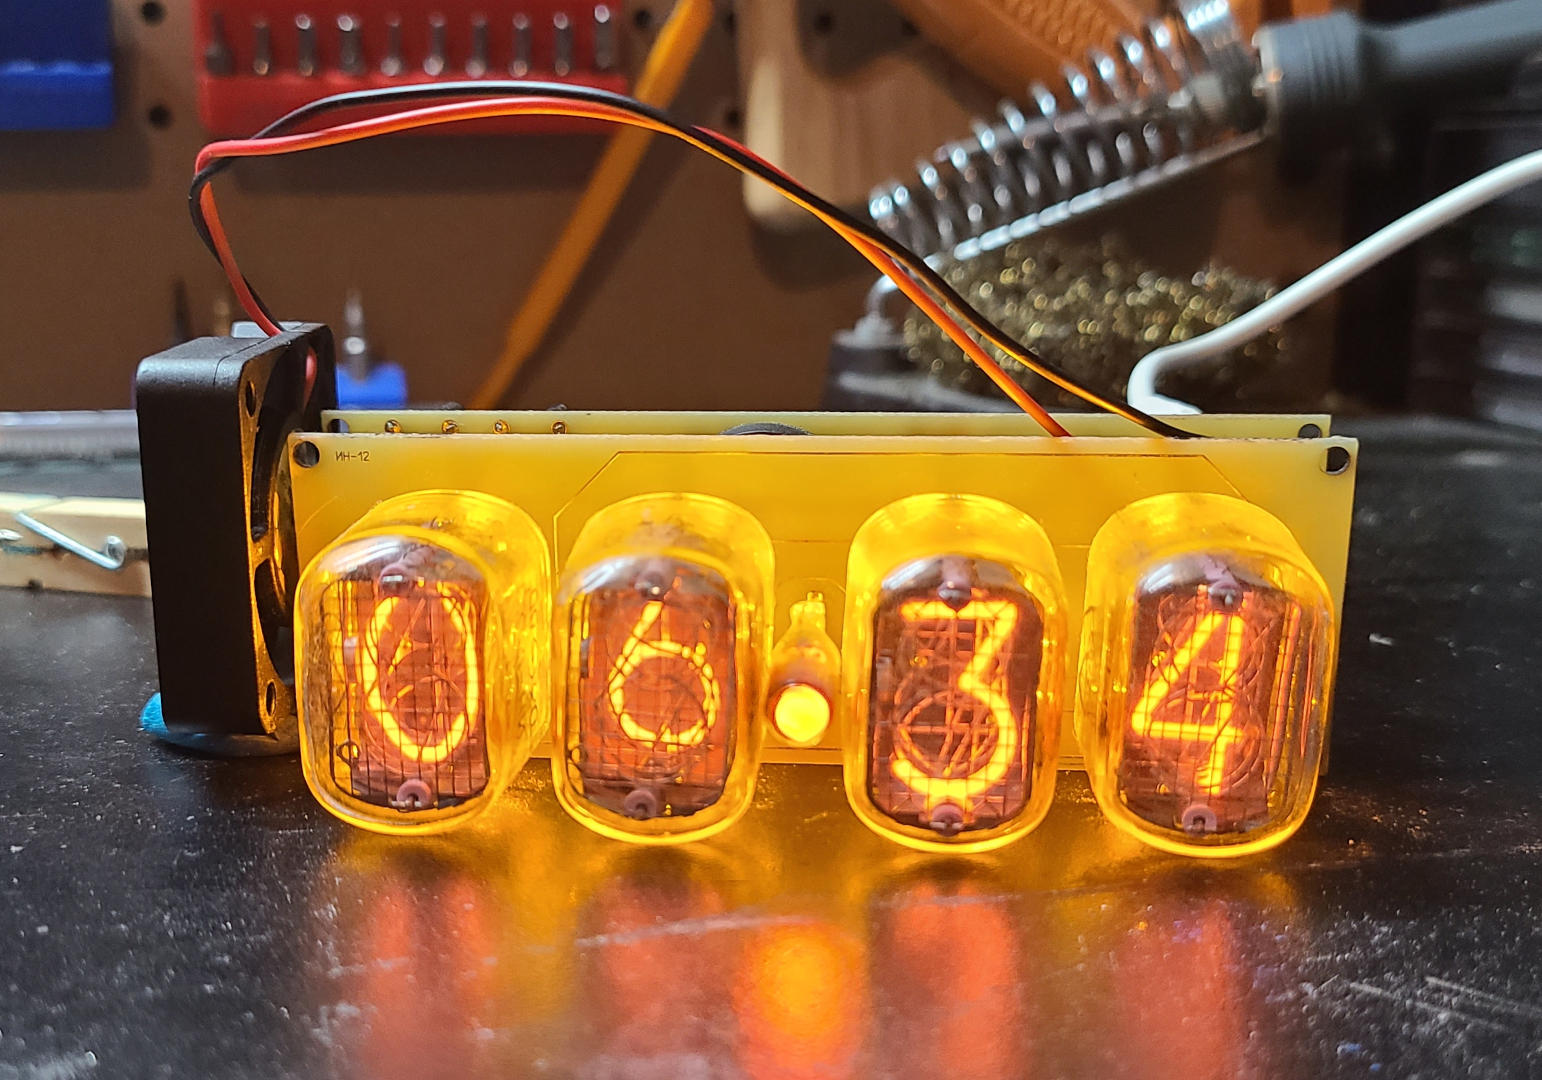
To start with, I wired a small fan to the 12v power input. Besides the tubes, there is one Soviet-vintage chip on the control board (K155ID1). It already failed once at my brother's. I guessed maybe heat was a factor, with the tightly stacked boards. Initially I used a fan from an old 3D printer (pictured here), but it was very noisy. I replaced it with a Noctua the same size for the final build.
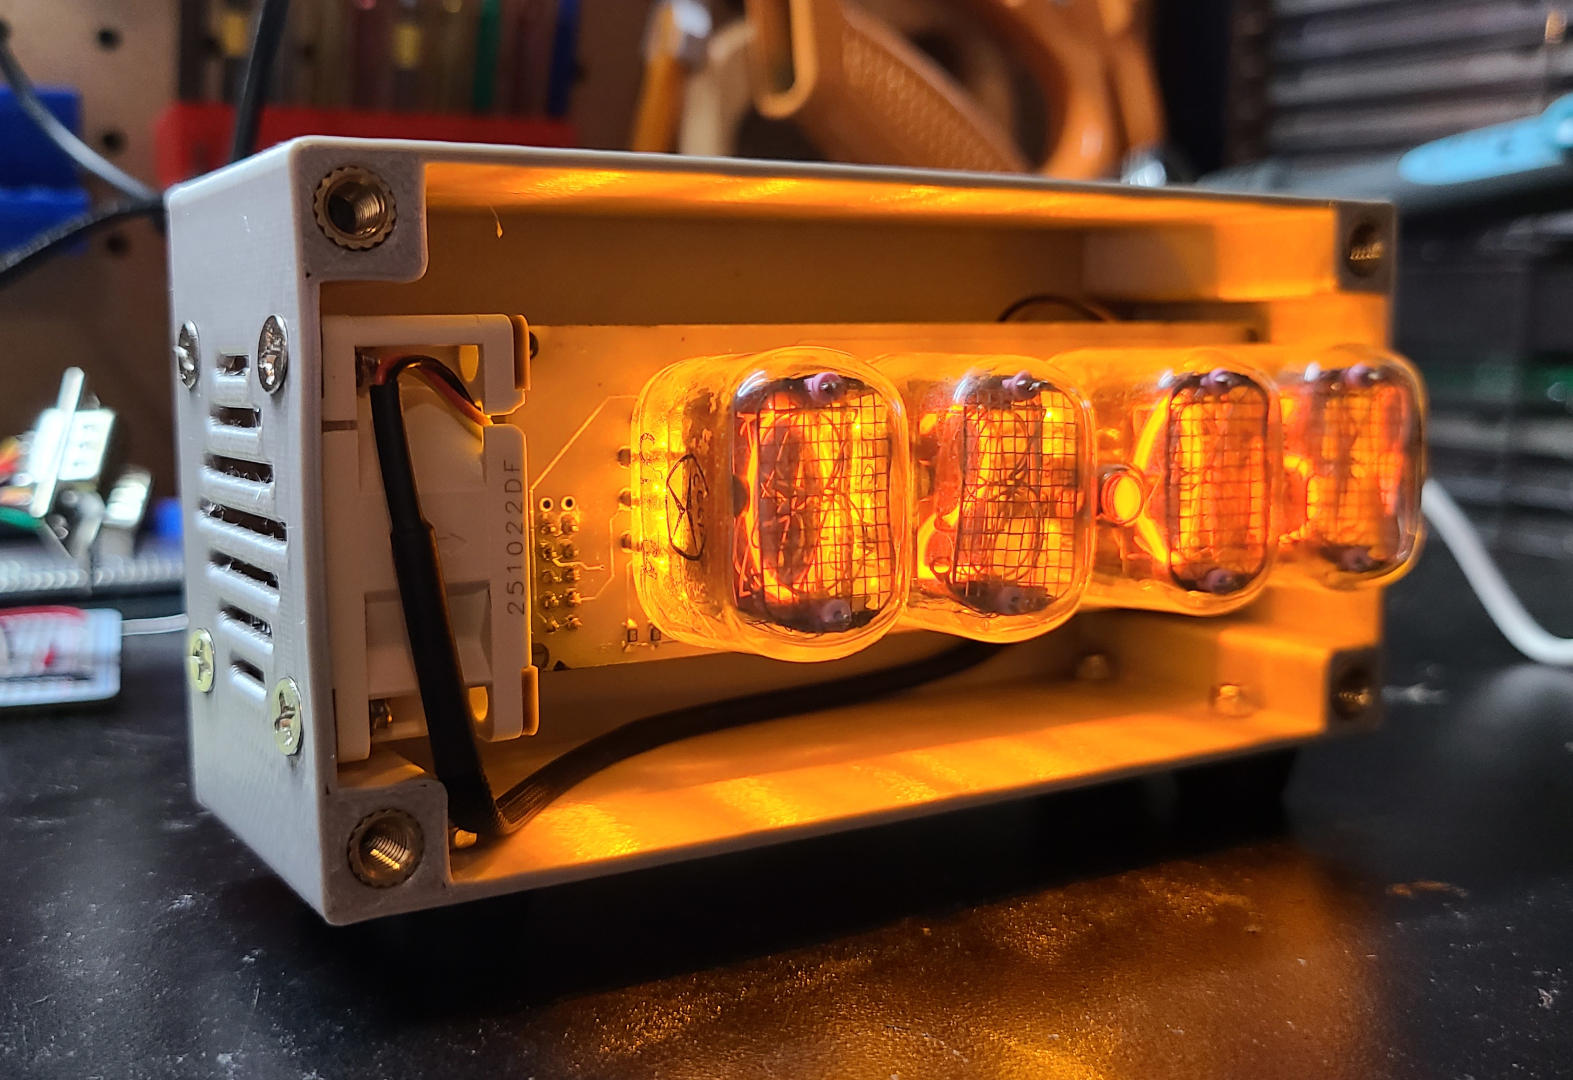
After some test pieces to get the mounting for the circuit and fan right, I made the back of the housing. It is 3D printed in my usual silk silver PLA. I had some vintage project-box feet which I screwed into the bottom with M3 bolts and nuts. The circuit boards are held in with M2.5 nylon standoffs and screws that go through the back of the case. The fan screws in with its normal screws. There are tall buttons on the back of the control board for setting the time. They poke through the back of the case at just the right height. M5 threaded inserts in the corners allow the front plate to screw on.
Front
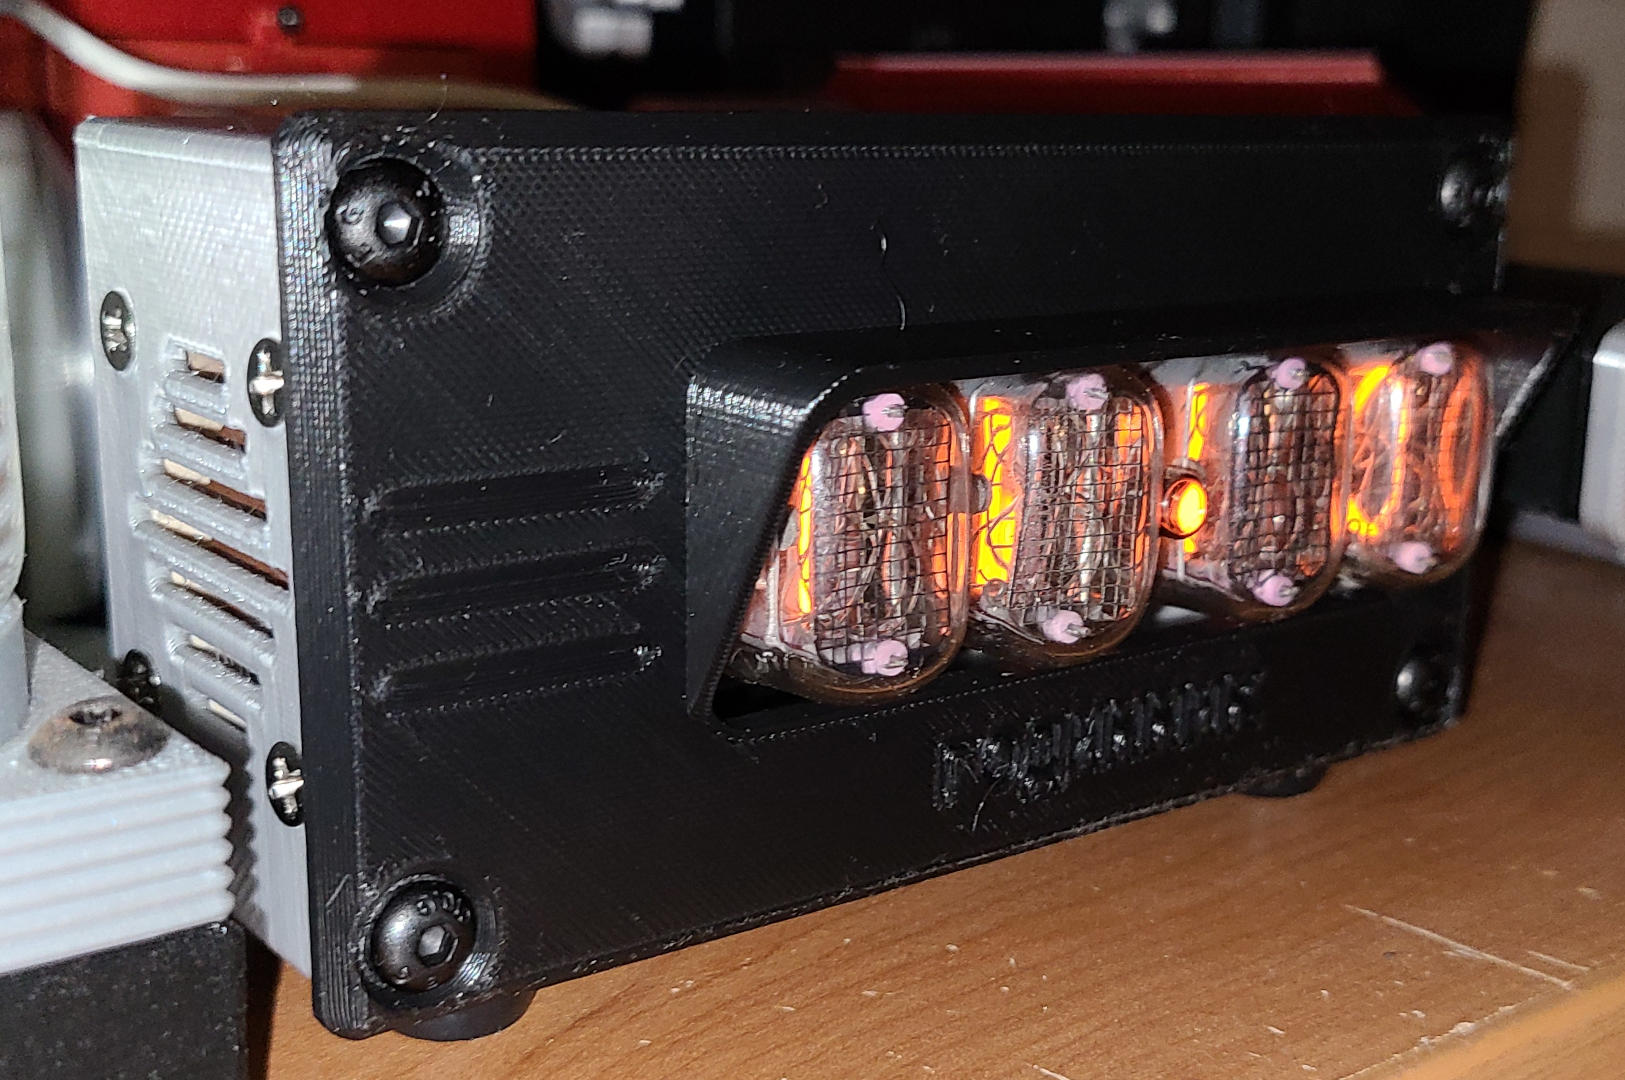
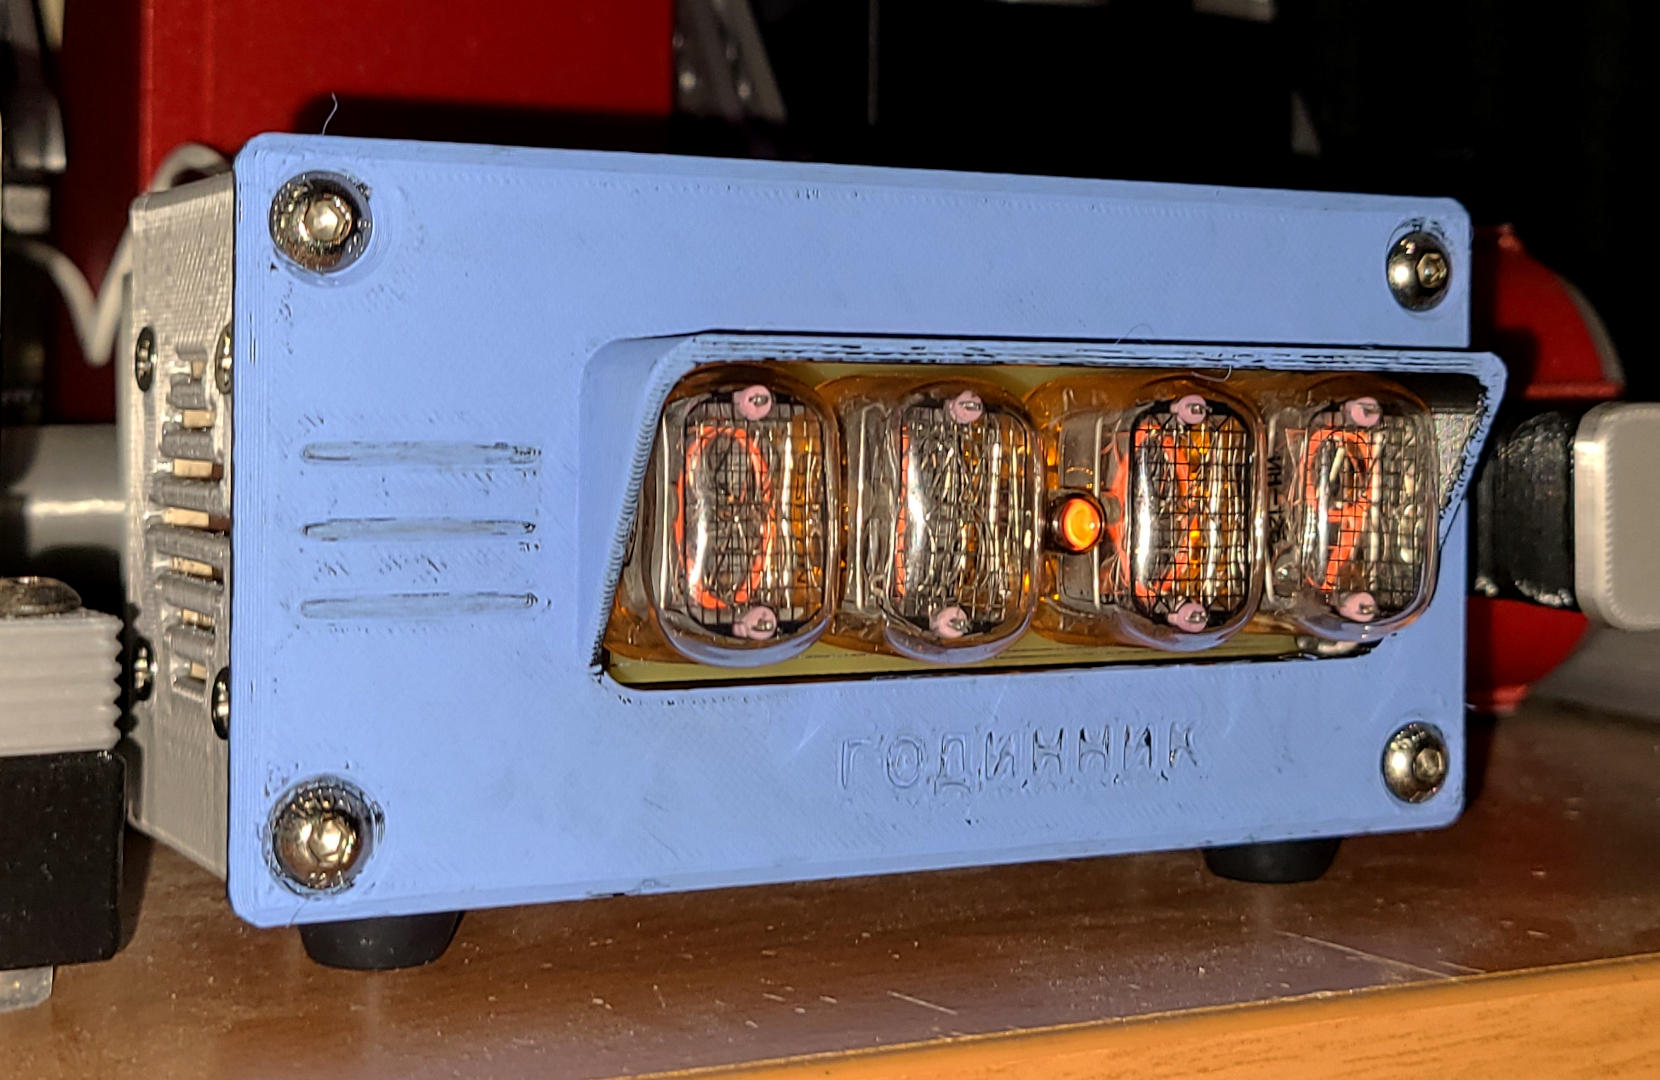
I tried to make the appearance like old test equipment or military equipment from the Soviet era. To honor it's origins, I put the Ukrainian word for clock on the front plate. I used exposed M5 button-head hex bolts for an industrial look.
Initially I had a black front with more detail. I didn't like the color, so I tried painting it something that felt more "Fallout". That brought out some roughness in the print, which I initially thought might pass as something old. However, I felt it didn't look realistic to have the hood as an integral piece, and the imperfections are obviously 3D-printed. Finally, I made a new design with a separate hood, and removed the details that didn't print well. I think it looks much better now.
Even with the fan, the K155ID1 failed again after a few weeks. I bought a batch of chips from Ukraine, and a replacement on July 16th 2026 is still working as of August 23rd. The clock also sometimes loses the current date, yet keeps the correct time, even with a new battery. These seem like flaws with the circuitry and/or firmware, but I don't currently have the expertise or information to fix them.

© 2026 Kyle Delaney | Site Map